Making my own battery for an old camcorder
2023/08/06
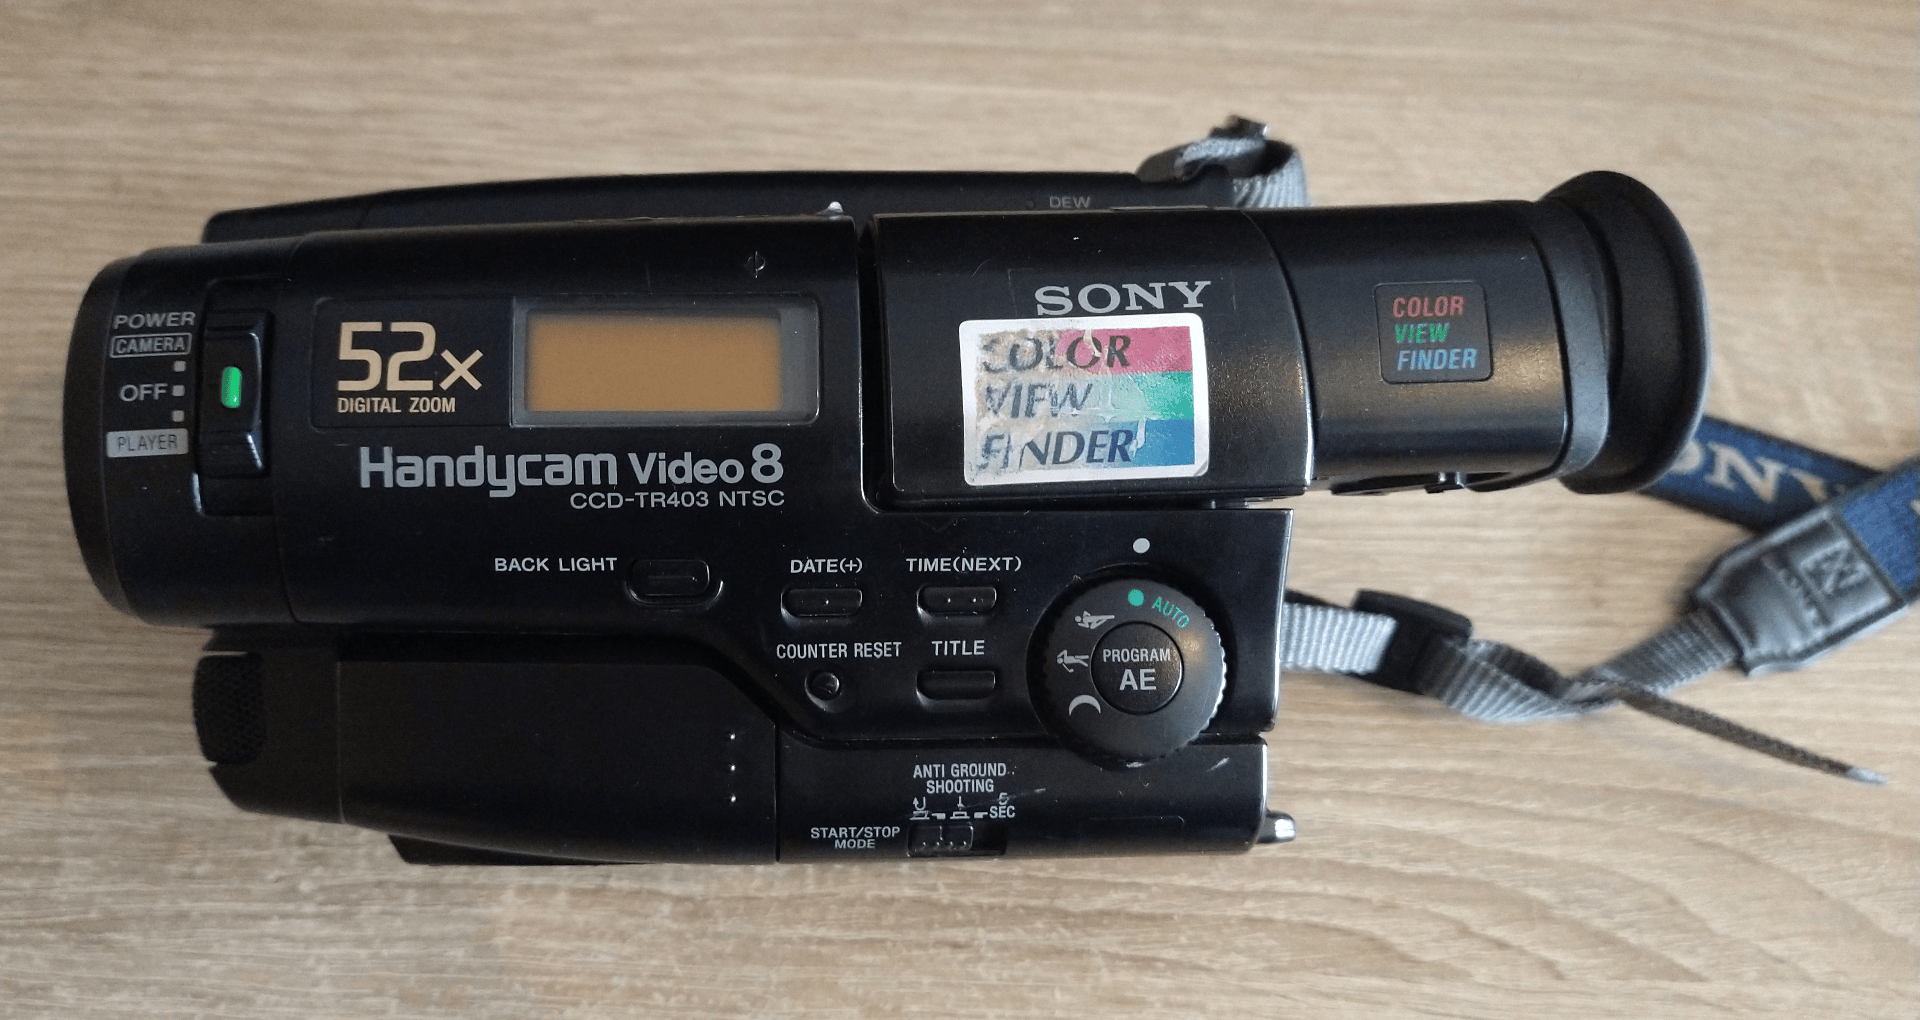
I have an old camera from the 90s, a Sony CCD-TR403 (appears to be the same as the CCD-TR66 except for the difference in digital zoom). After more than 20 years the original battery, A Ni-Cd 3000 mAh (NP-98), lasts only a few minutes before it powers off. A few years back, about 6 years I bought a replacement battery from an alternative “brand” on Amazon, although it did last more than the original, it wouldn’t last more than a few minutes.
A few days ago I wanted to record things again but I needed a new a battery. I went on Aliexpress to look for a replacement battery and I found one seller that sold a “4200 mAh” battery and I put it in quotes because there are a lot of sellers on Aliexpress that provide false information regarding battery capacity, I’ve seen people buy “3000 mAh” batteries and when they open the plastic shell its just a 600 mAh battery inside, so I wasn’t too sure whether to buy one or not.
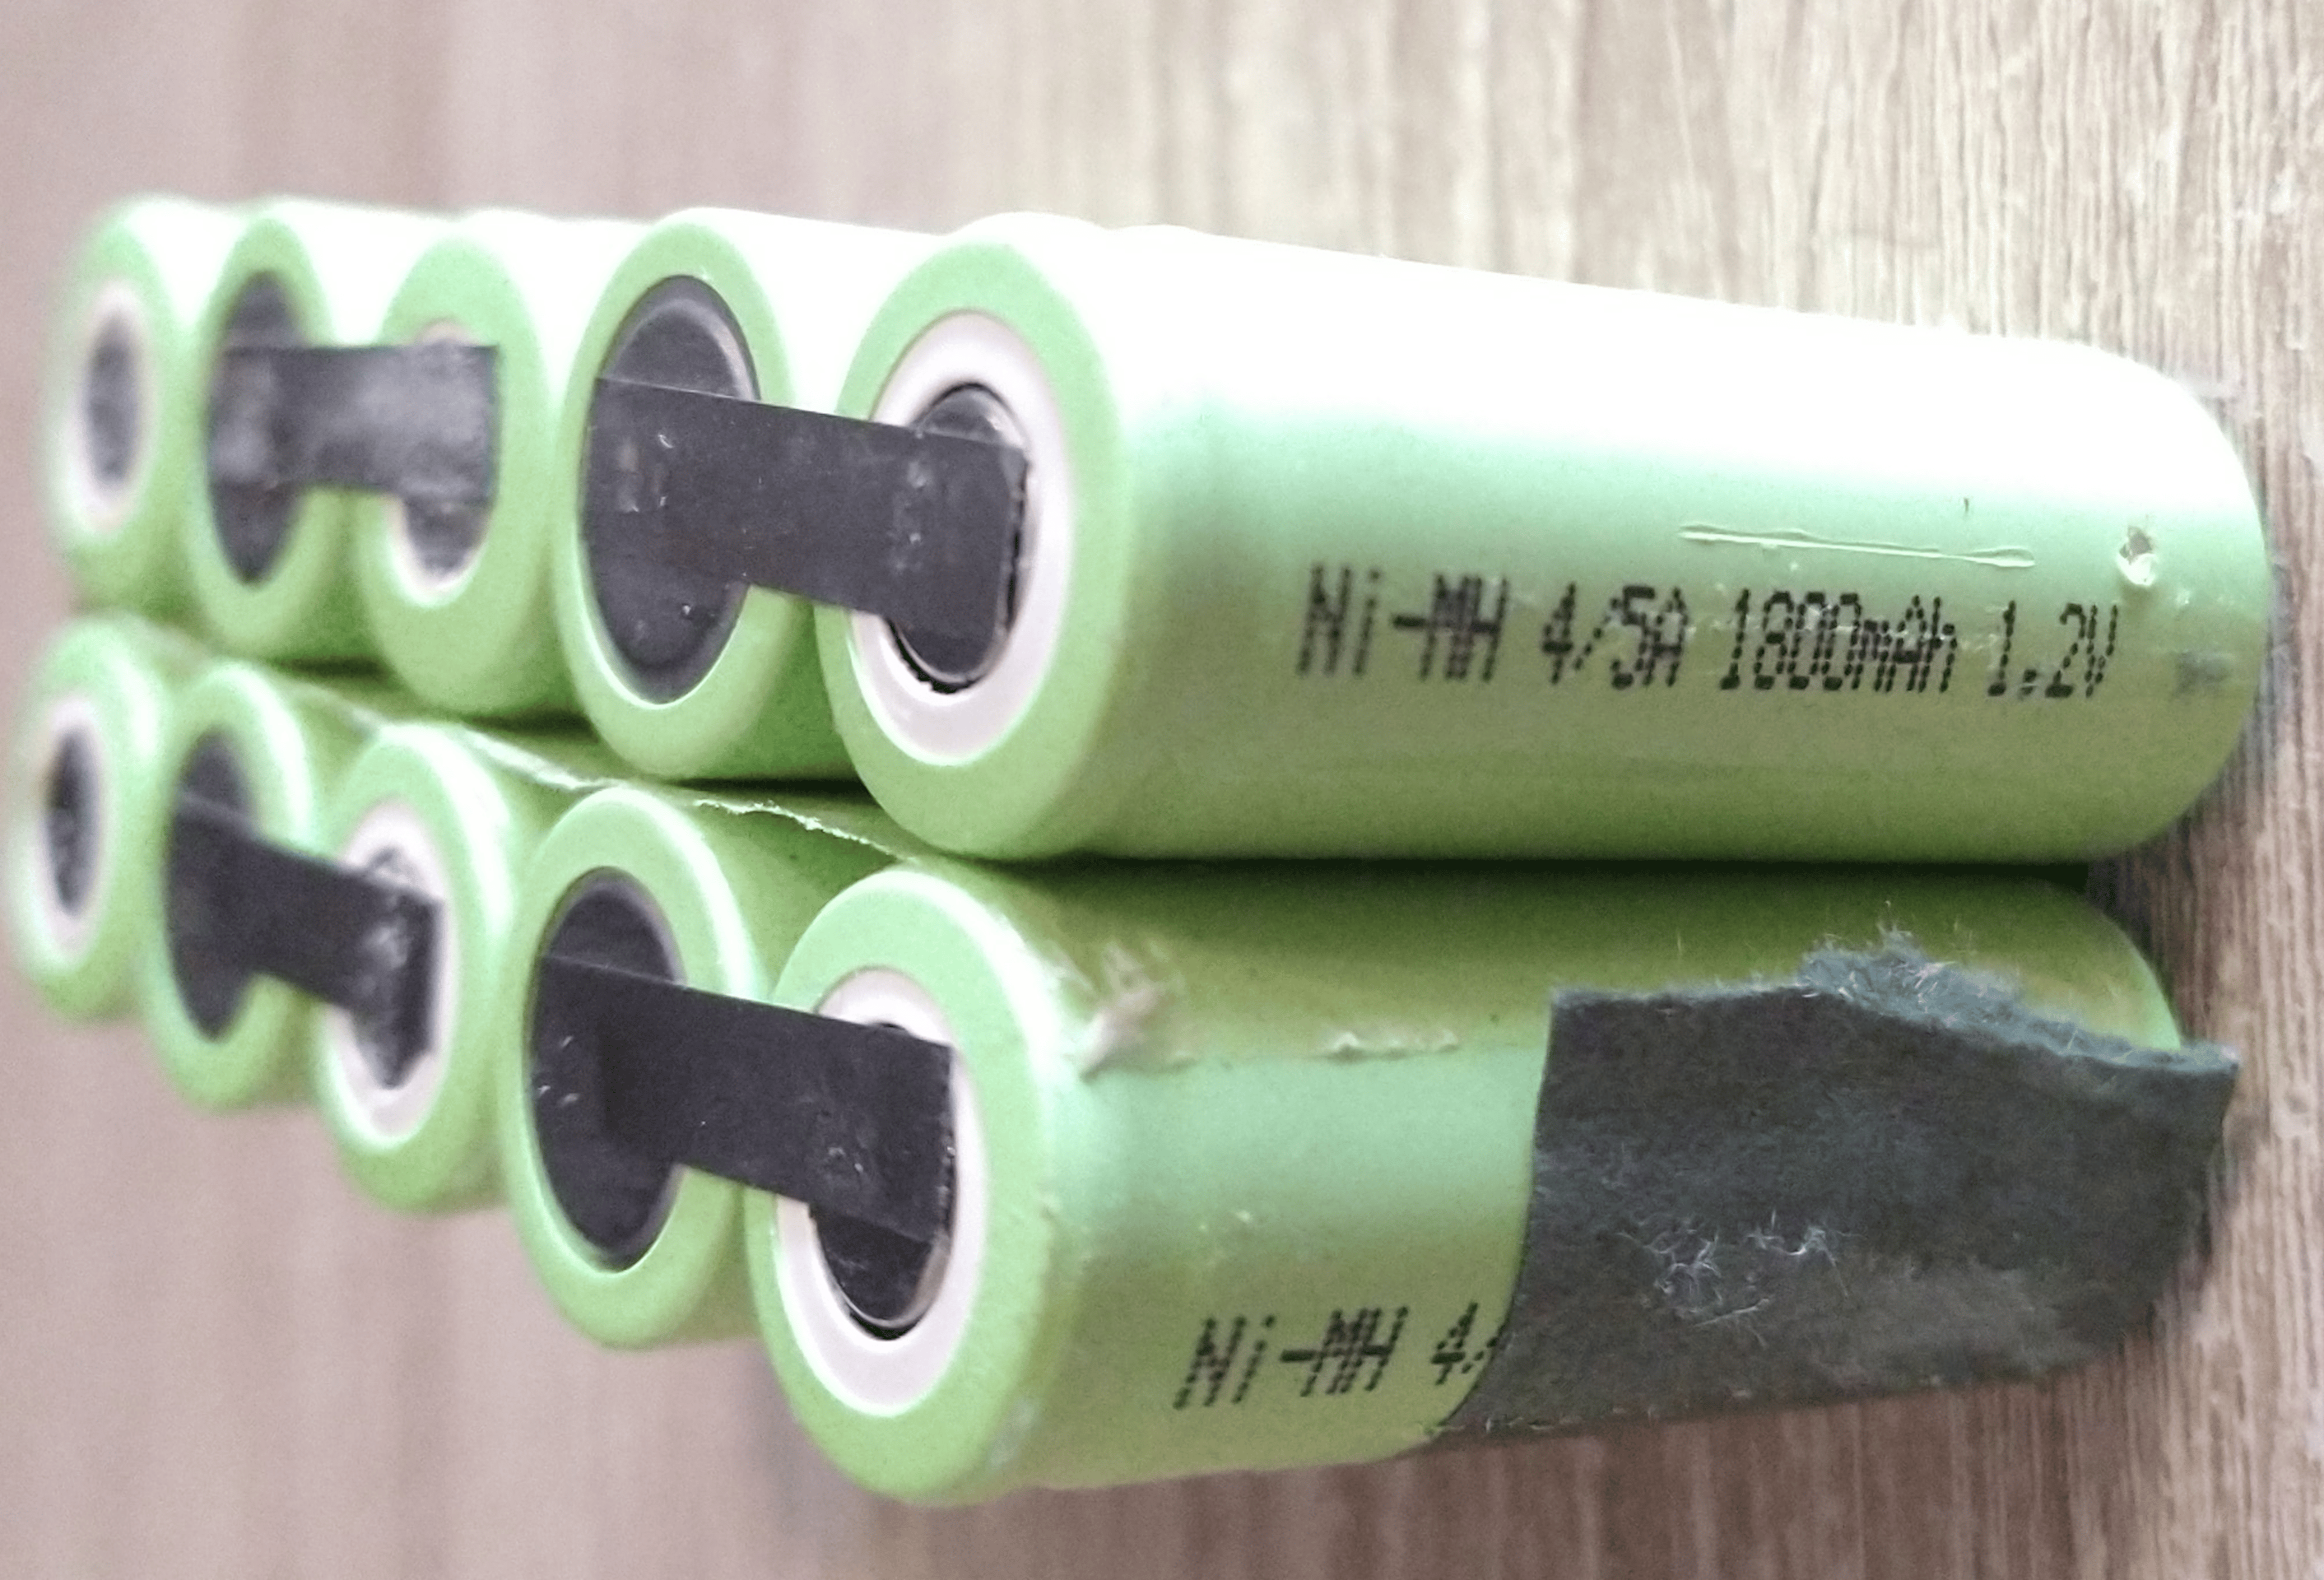
I knew external batteries like laptops (removable ones) the plastic was just a shell for what was cylindrical batteries connected to each other. So I decided to open the battery I bought from Amazon, and there were 10 cylindrical batteries connected in series and parallel. Each one was 1800 mAh so in theory it should have a capacity of 3600 mAh. The thing is, the sticker of the battery said 4000 mAh, so clearly the seller wasn’t honest, and as you might know batteries with time start aging and they can hold less charge, so who knows even if the batteries inside were new or just old ones.
Because of this, I didn’t want to rely on a Chinese seller that is very likely not honest and having to wait at least 1 month of shipping plus an expensive cost of shipping, so I decided to make my own.
Decisions #
The first decision I had to take was which batteries to use, since the camera needed 6V (volts) I knew I could connect batteries in series to make 6V, so I looked into the ones that could provide 6V and were rechargeable. AAA batteries are 1.2V (NiMH) which means I would need to connect 5 AAA in series to get 6V, I didn’t like this for several reasons:
- Recharging them would be a pain because the battery charger I have fit only 4 batteries at the same time.
- Their capacity is really small, generally they range from 800 to 1200 mAh, since I would be connecting them in series the capacity would stay the same as a single battery, or I would have to use another 5 batteries for a total of 10 and connect them in parallel just to have 2400 mAh at best.
- I wasn’t sure if 5 batteries would fit in the small plastic case.
- Having 5 batteries means if one the battery dies, then the whole battery stops working until I replace that one battery.
Then I looked into AA batteries, although their capacity is bigger than AAA, they still only provide 1.2V and I would need 5 of them, again the same problem as I mentioned above. I took a look at popular batteries such as “18650” which are normally used with removable batteries in laptops, they provide 3.7V. If I connected 2 of them in series I would get 7.4V which is way above the 6V that the camera said it needed. I started looking if it was possible to somehow reduce voltage and I stumbled upon this thread in electronics.stackexchange
Design #
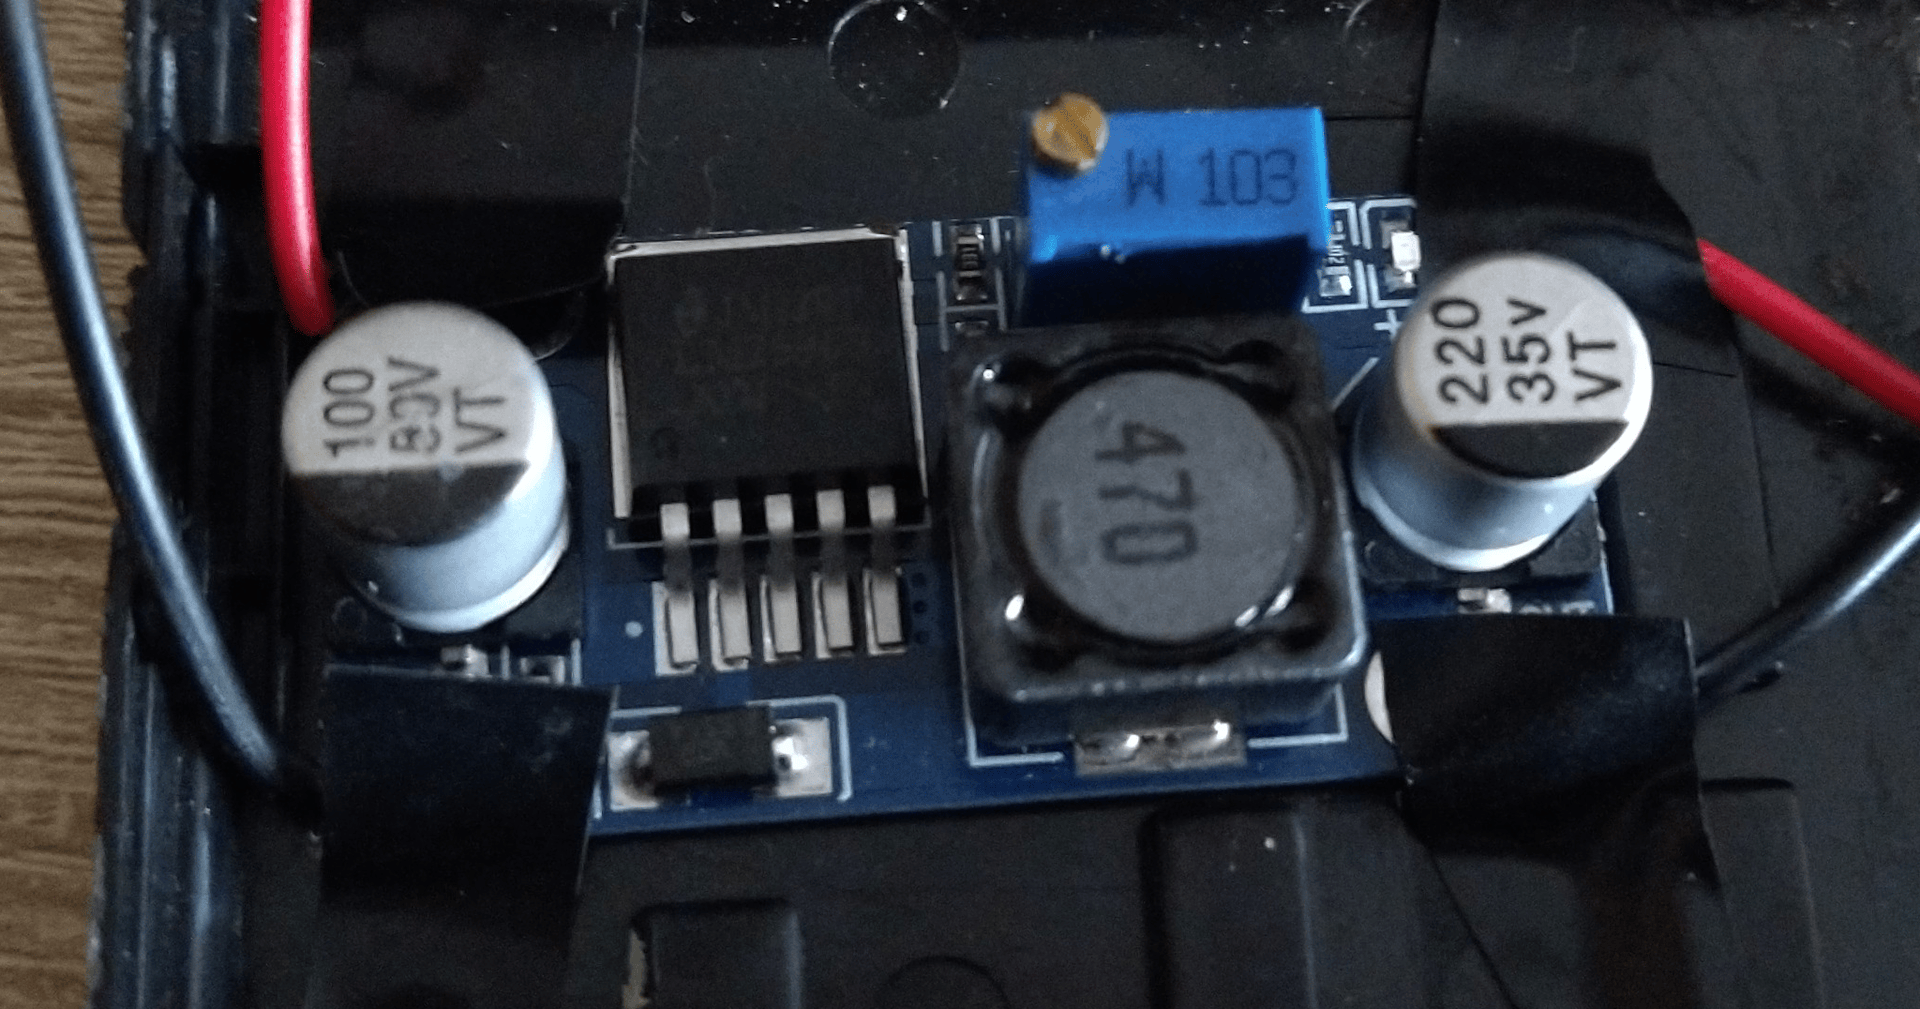
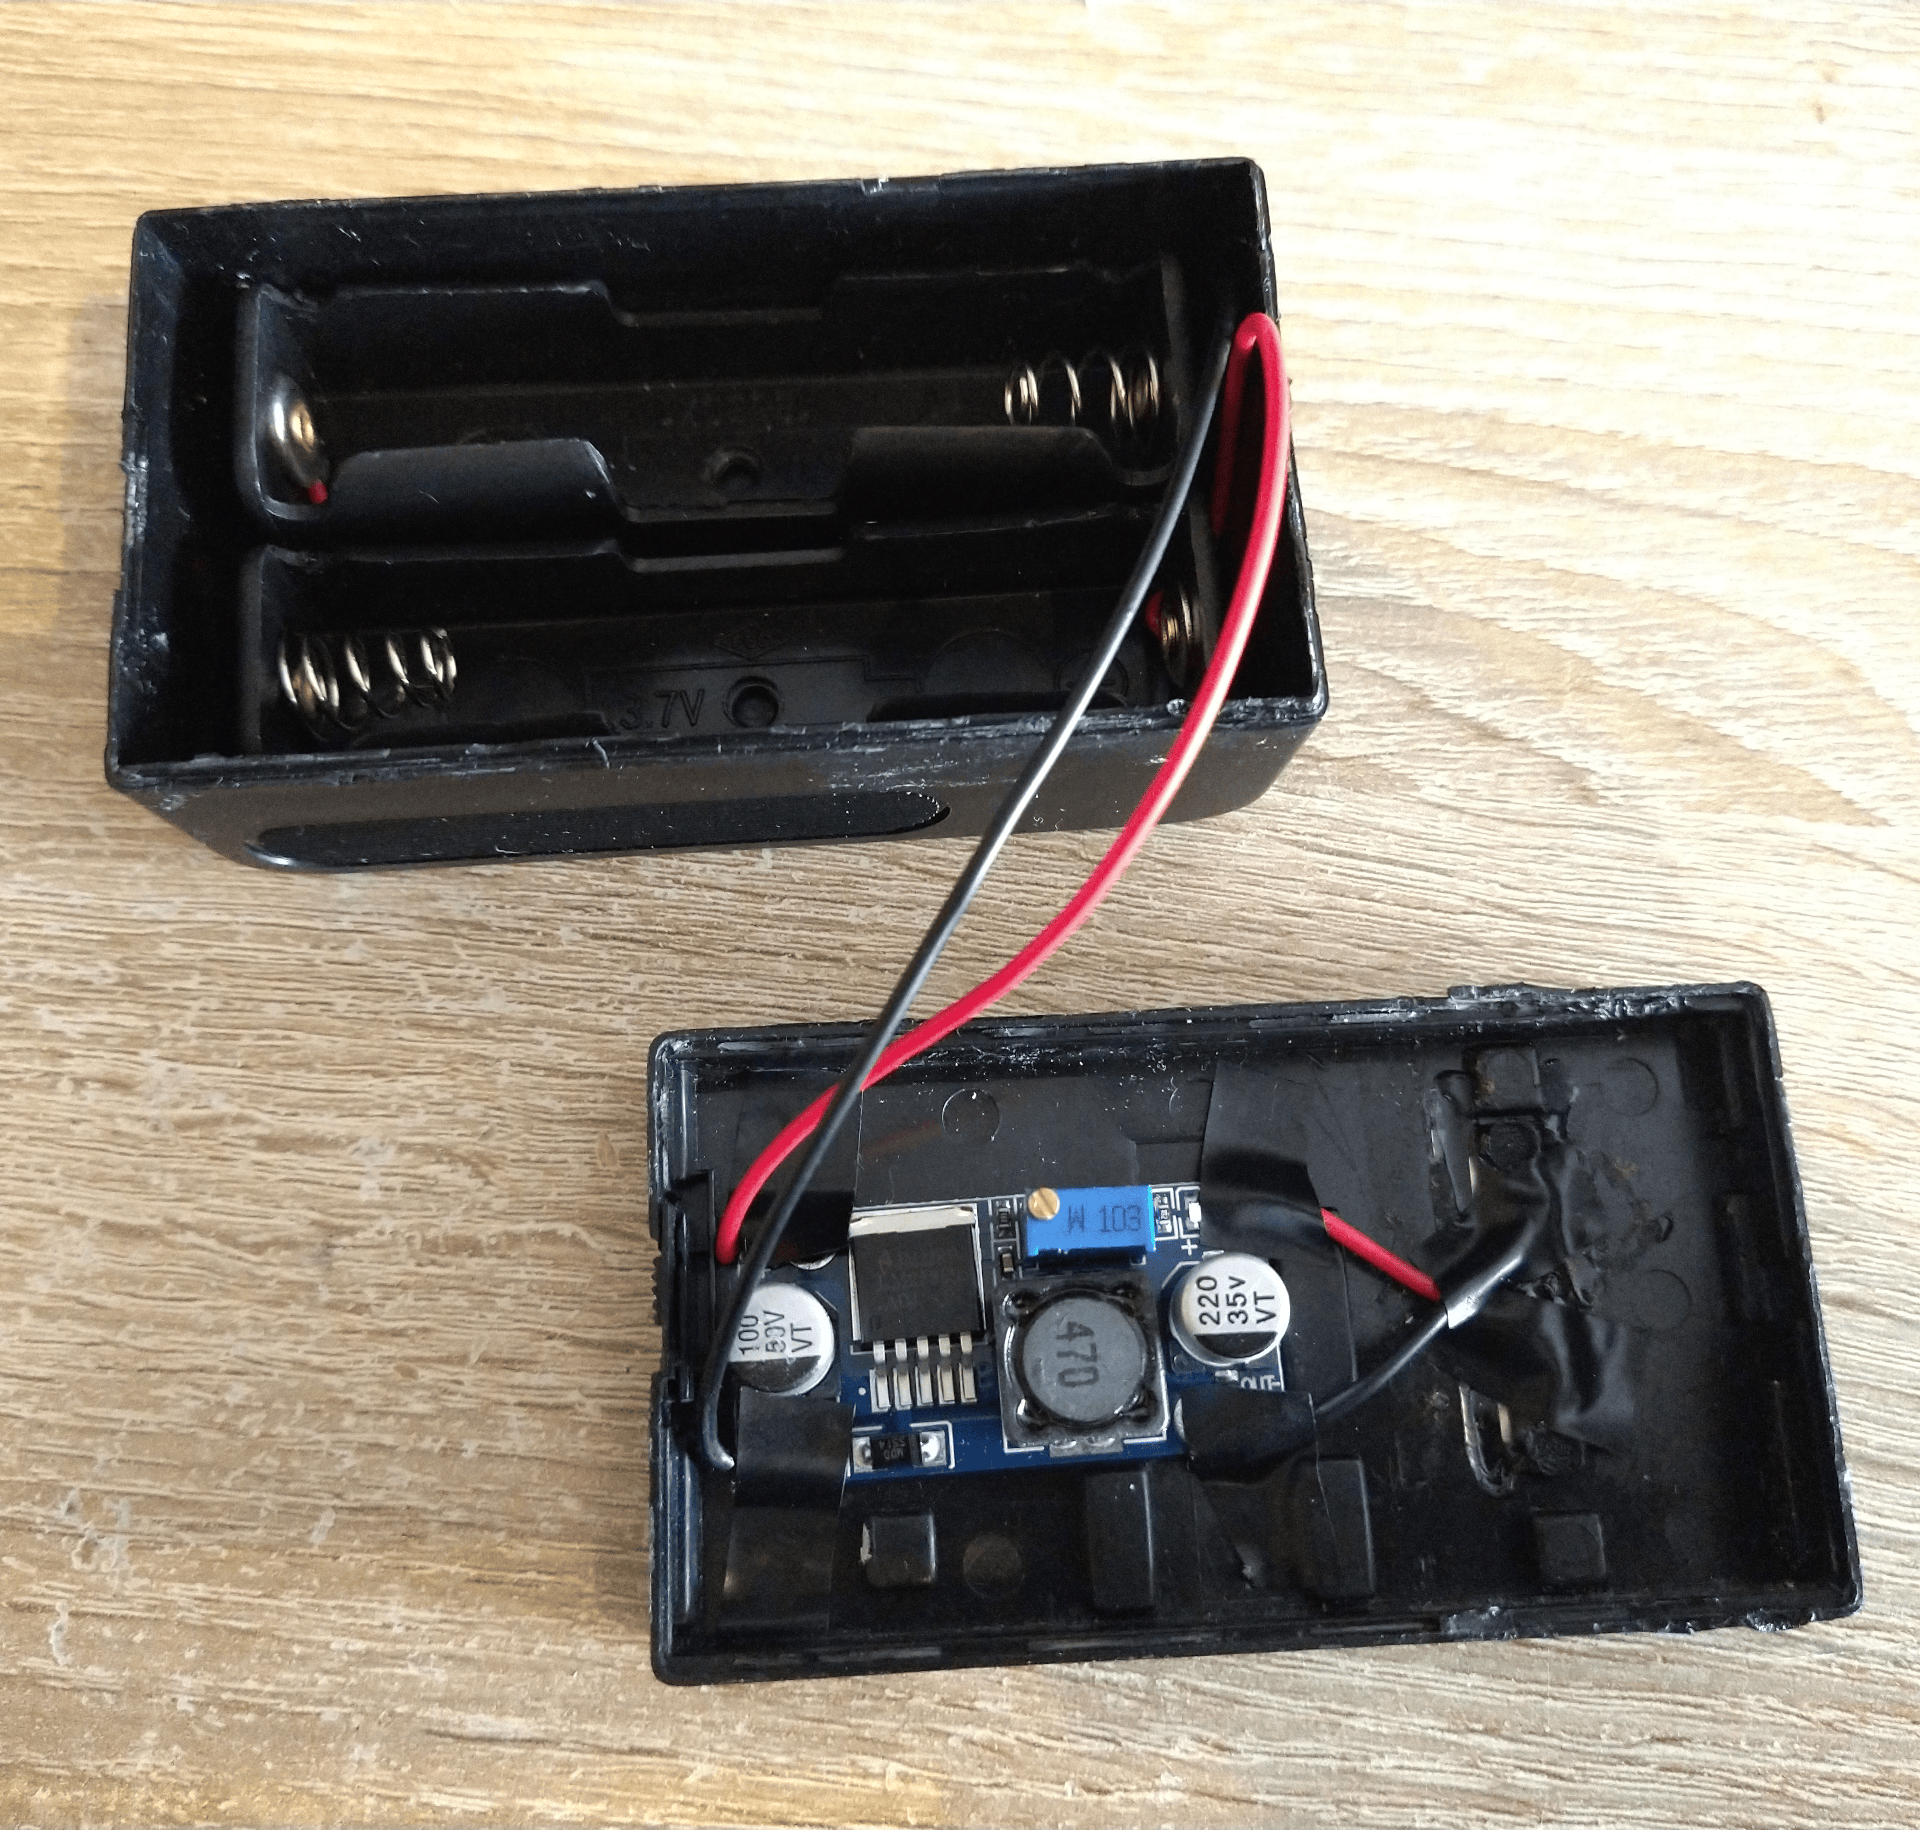
Looking more into it I stumbled an answer that suggested a “buck converter” (for some reason I can’t find the exact thread I read), they were very efficient compared to other “simple” solutions such as resistors, as those solutions would just generate lot of heat depending how much voltage you need to reduce. So I bought the module LM2596. A cheap module that will do exactly what I needed reduce the voltage of the batteries to the one I need with high efficiency.
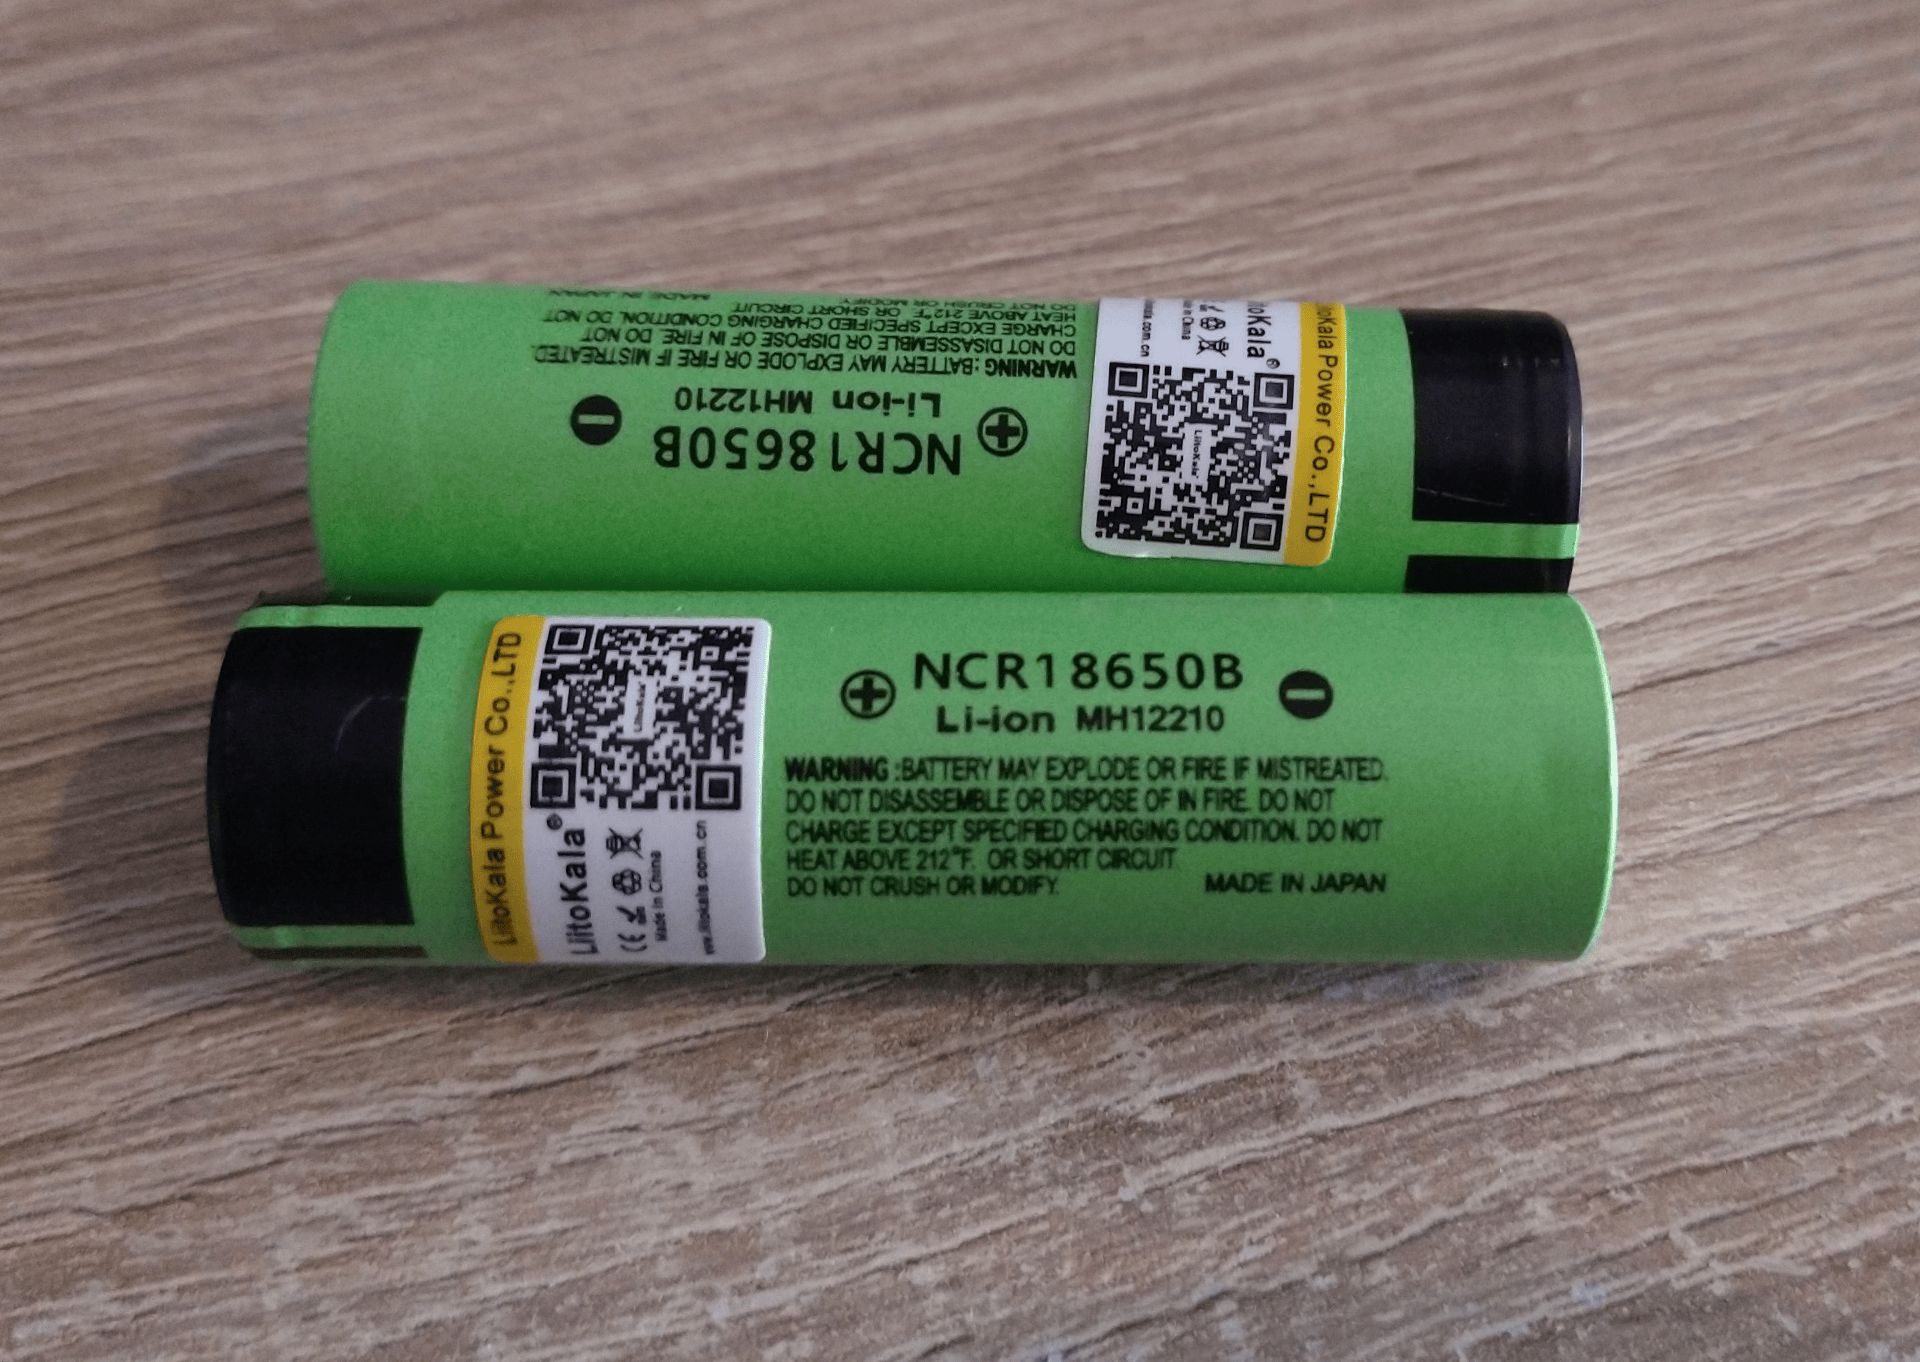
I also had to buy 18650 batteries, and I bought Liitokala NCR18650B which I believe they are a Chinese brand though it appears trustworthy in the capacity rating of their batteries.
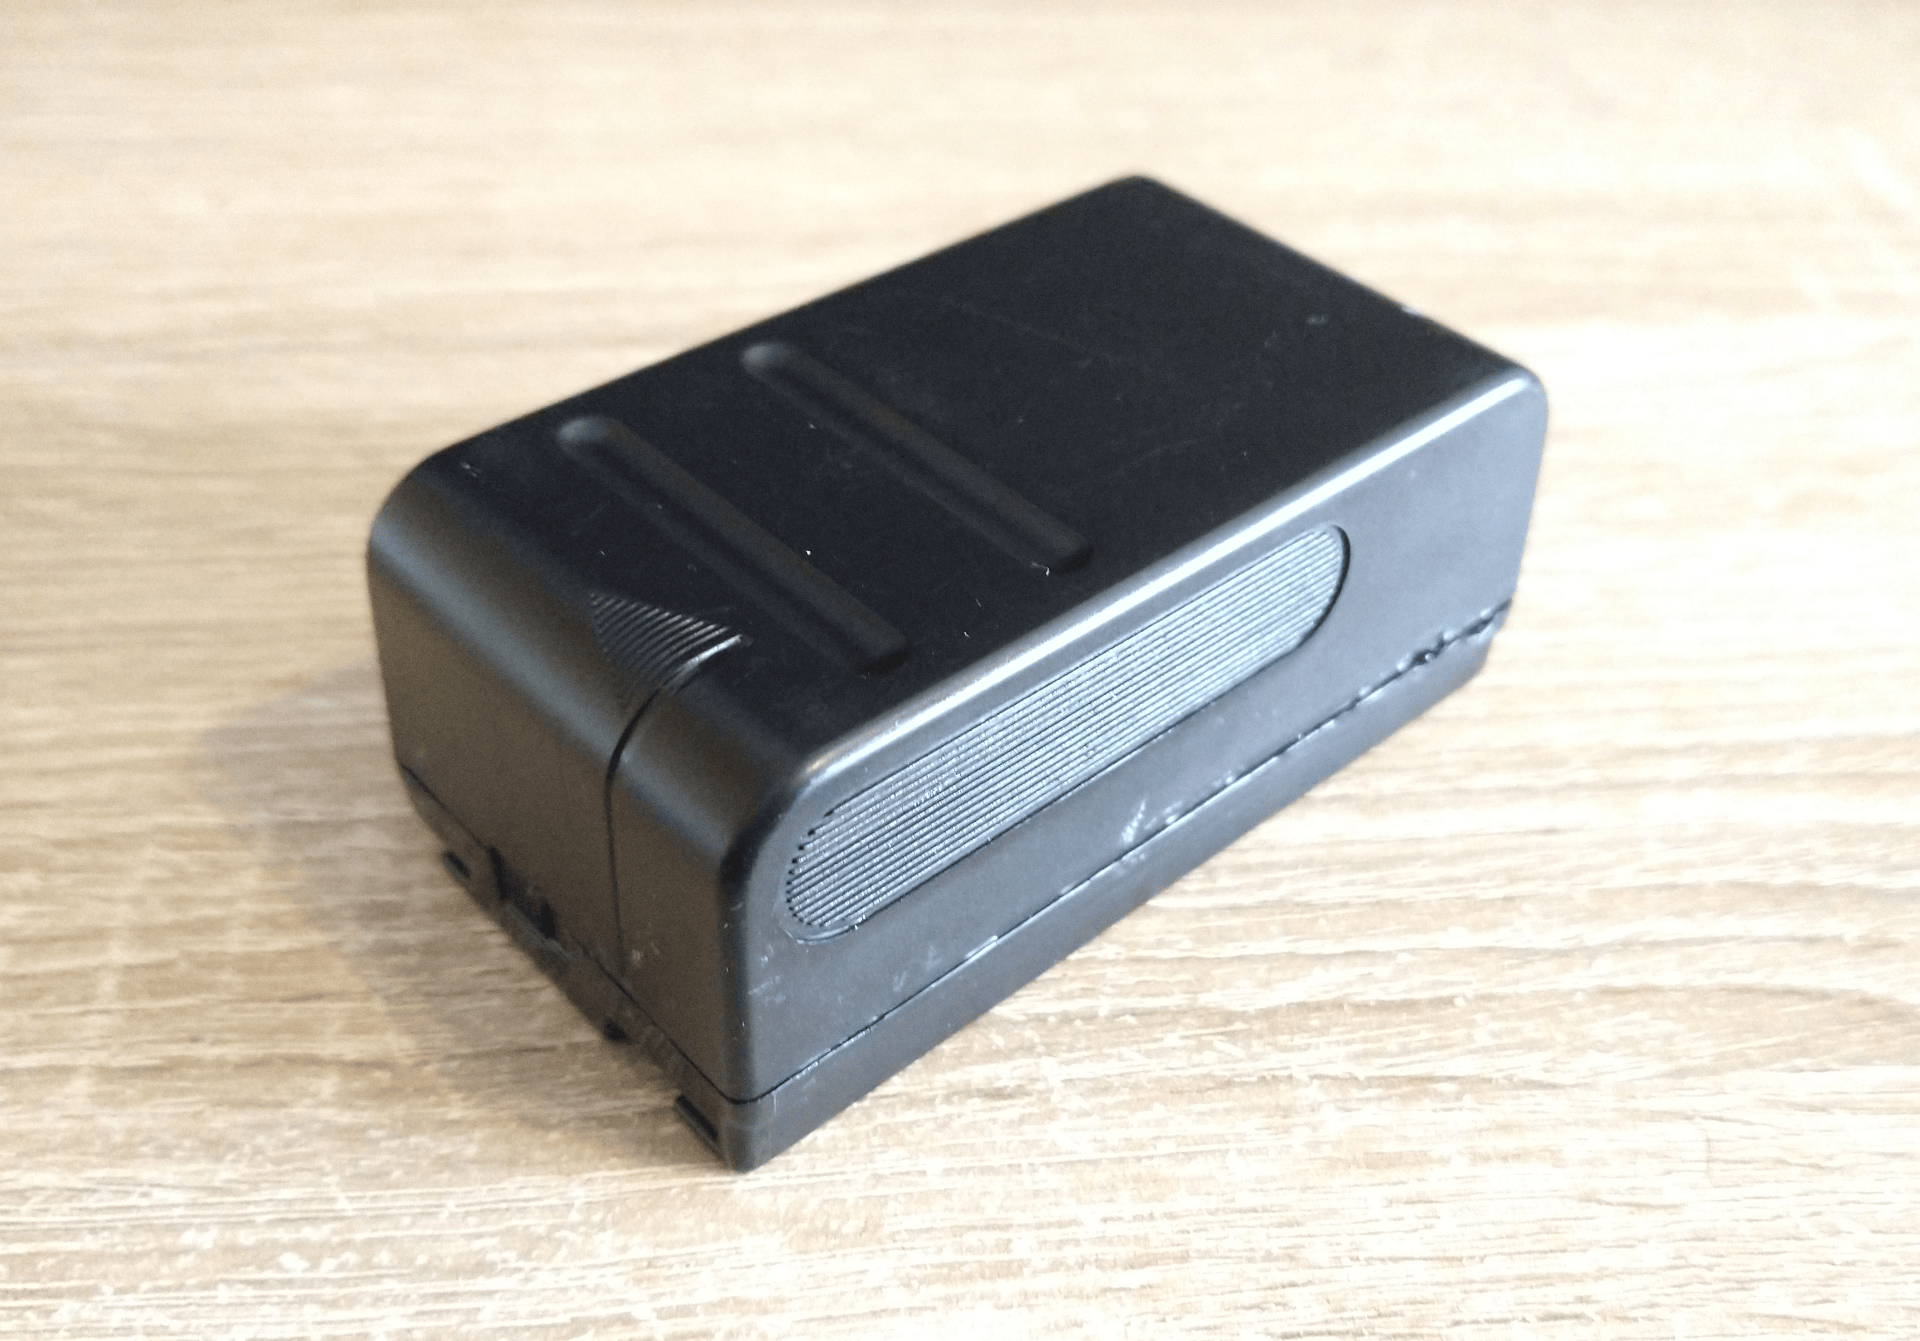
Using a multimeter I measured the voltage output of the batteries and rotated the little “screw” to reduce the voltage until I got 6V. I put everything together, put the battery on the camera to try it out. It worked, except that it appeared “battery low” icon, although the batteries were fully charged. That’s when I remembered that batteries, depending on their charge they’ll have different voltages. So the camera at a minimum to work it needed 6V and apparently it detects battery charge based on the amount of volts its receiving. I noticed that the wall power that is included with the camera, it provides 7.4V, so I adjusted the module so it provided a little bit more voltage. I put everything together in the plastic case and now I have a working battery that when it dies it only needs replacement of the 18650 batteries.
Final thoughts #
I learned a few things with this little project about buck converters (dc-to-dc step down) also that batteries aren’t as scary as I thought they were and had fun doing it. Also not having to rely on one supplier for something “so” specific feels good. I do must say that I did had a little bit of knowledge such as knowing that you could connect batteries in series/parallel and I already had solder a few things and cables, I didn’t do it from scratch, but now that I have done it, I feel more prepared to repair things.
